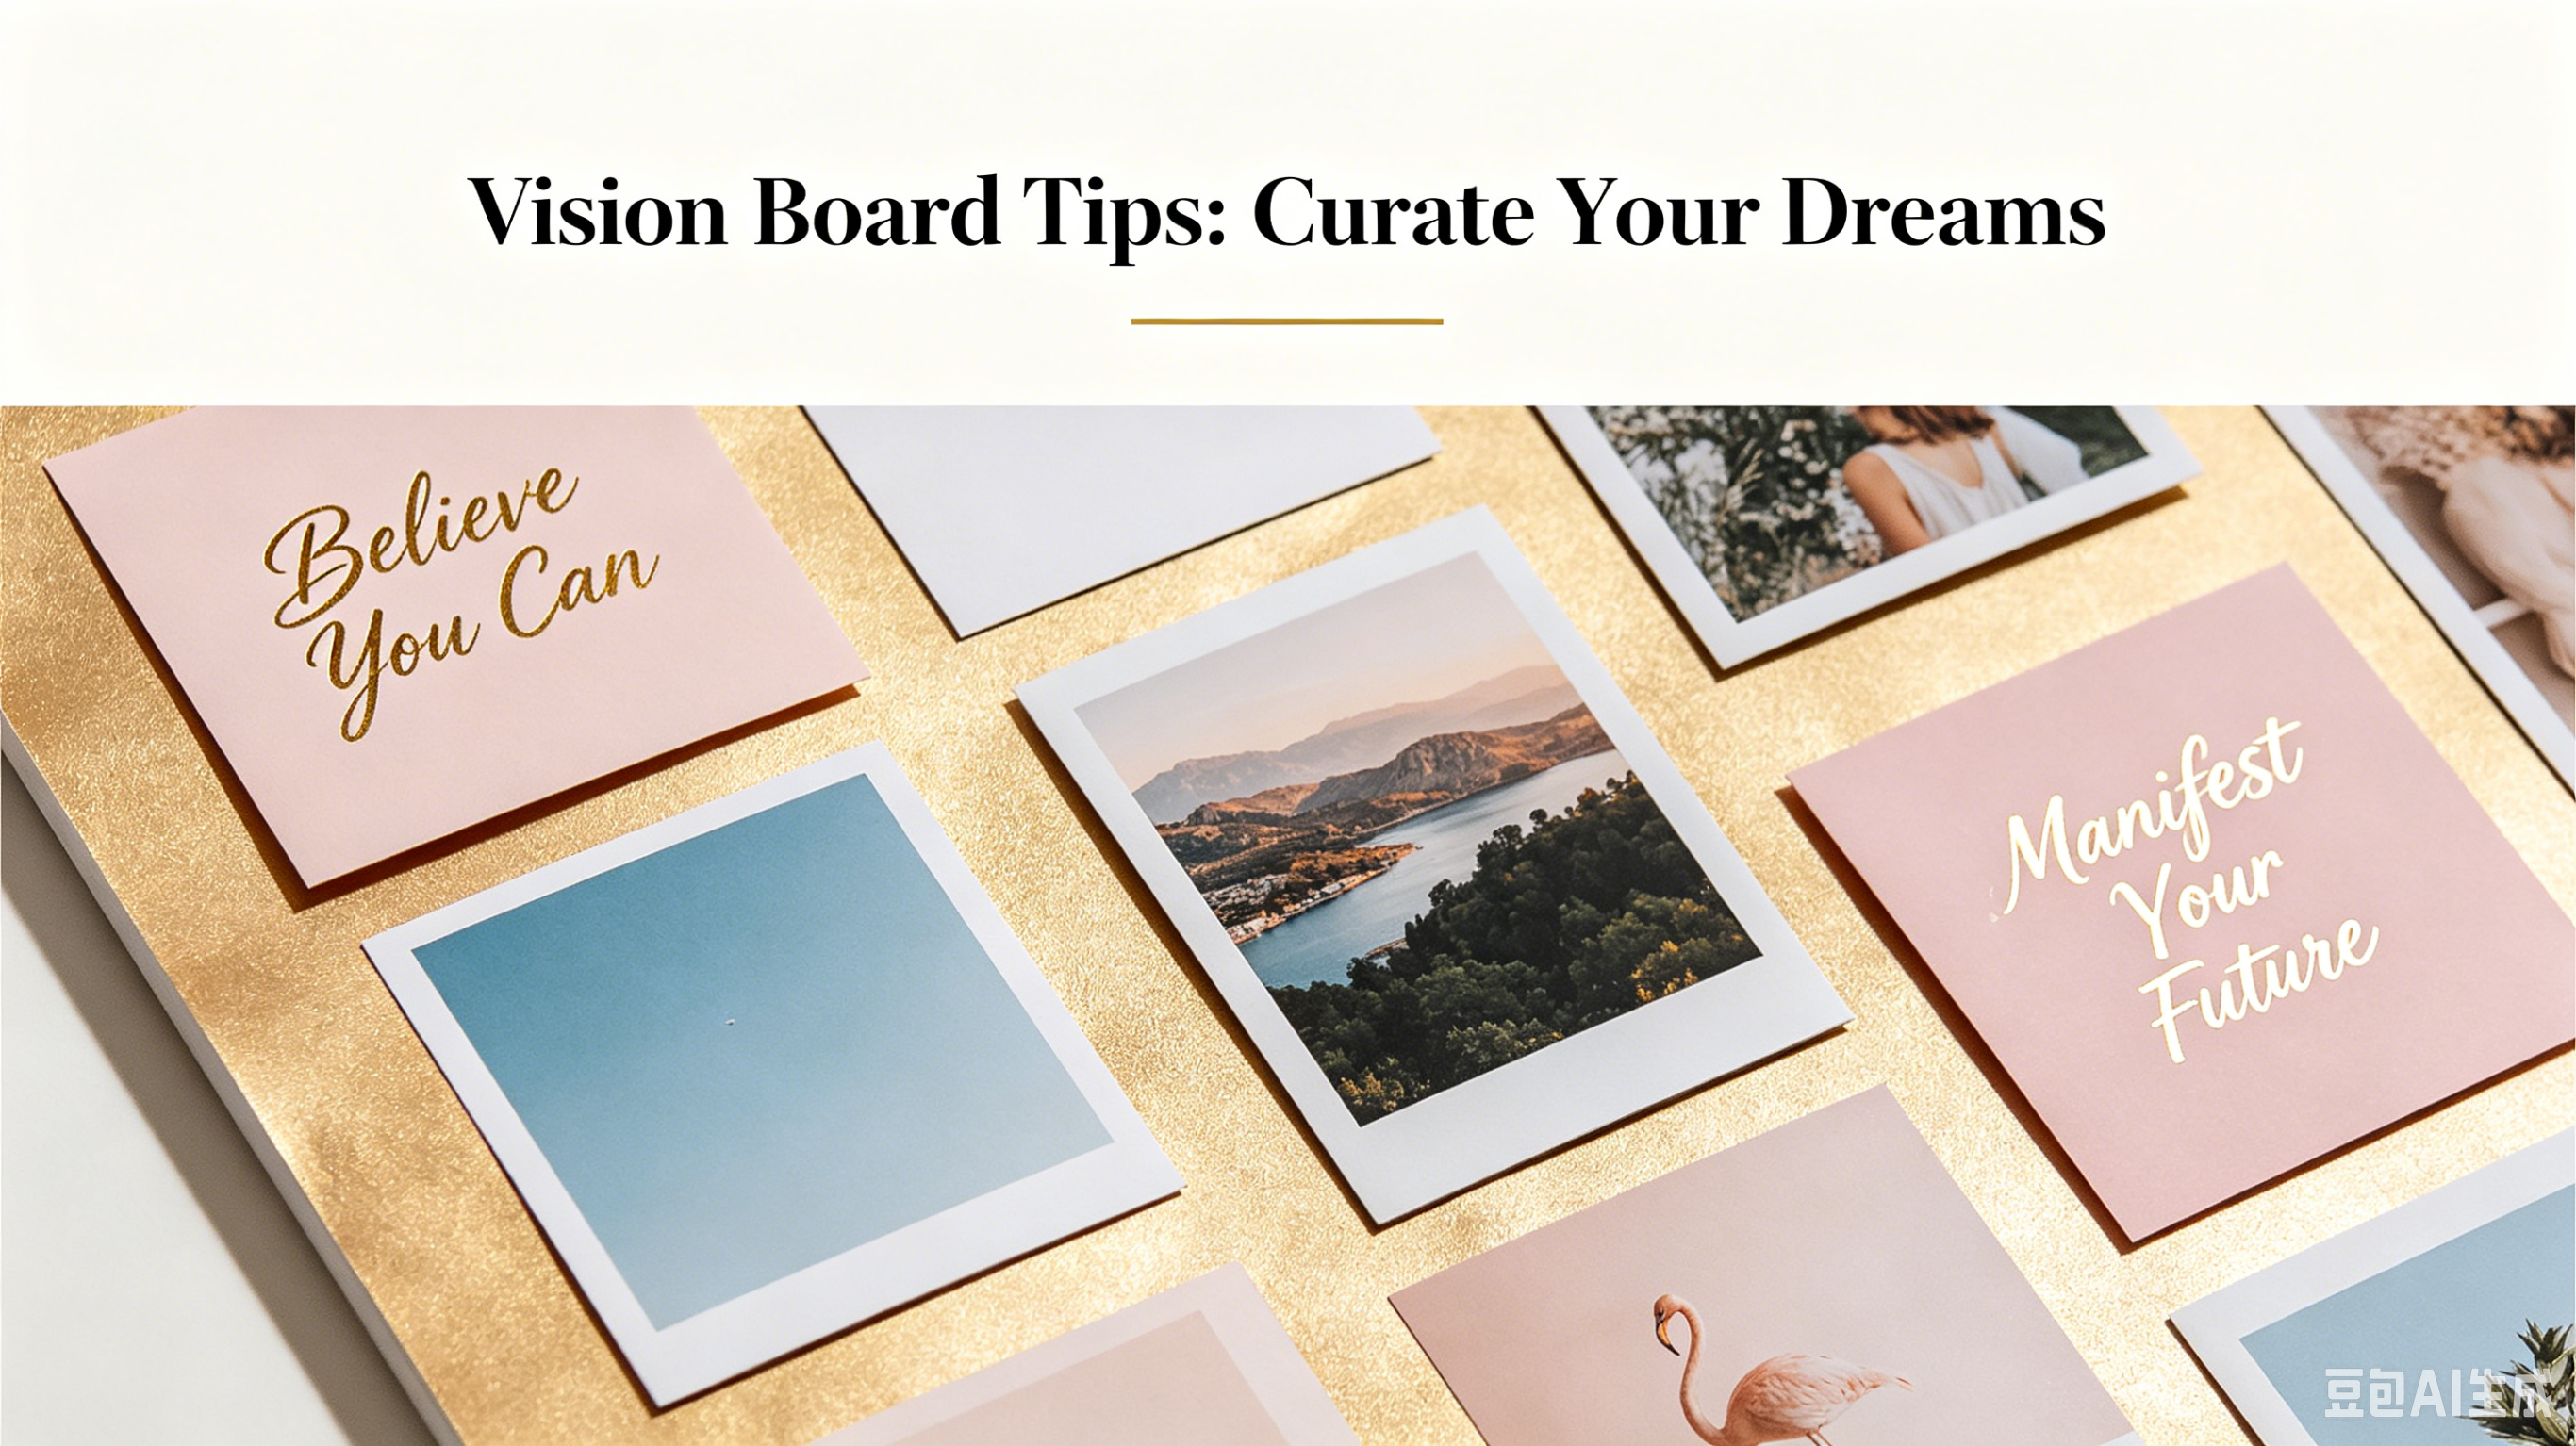
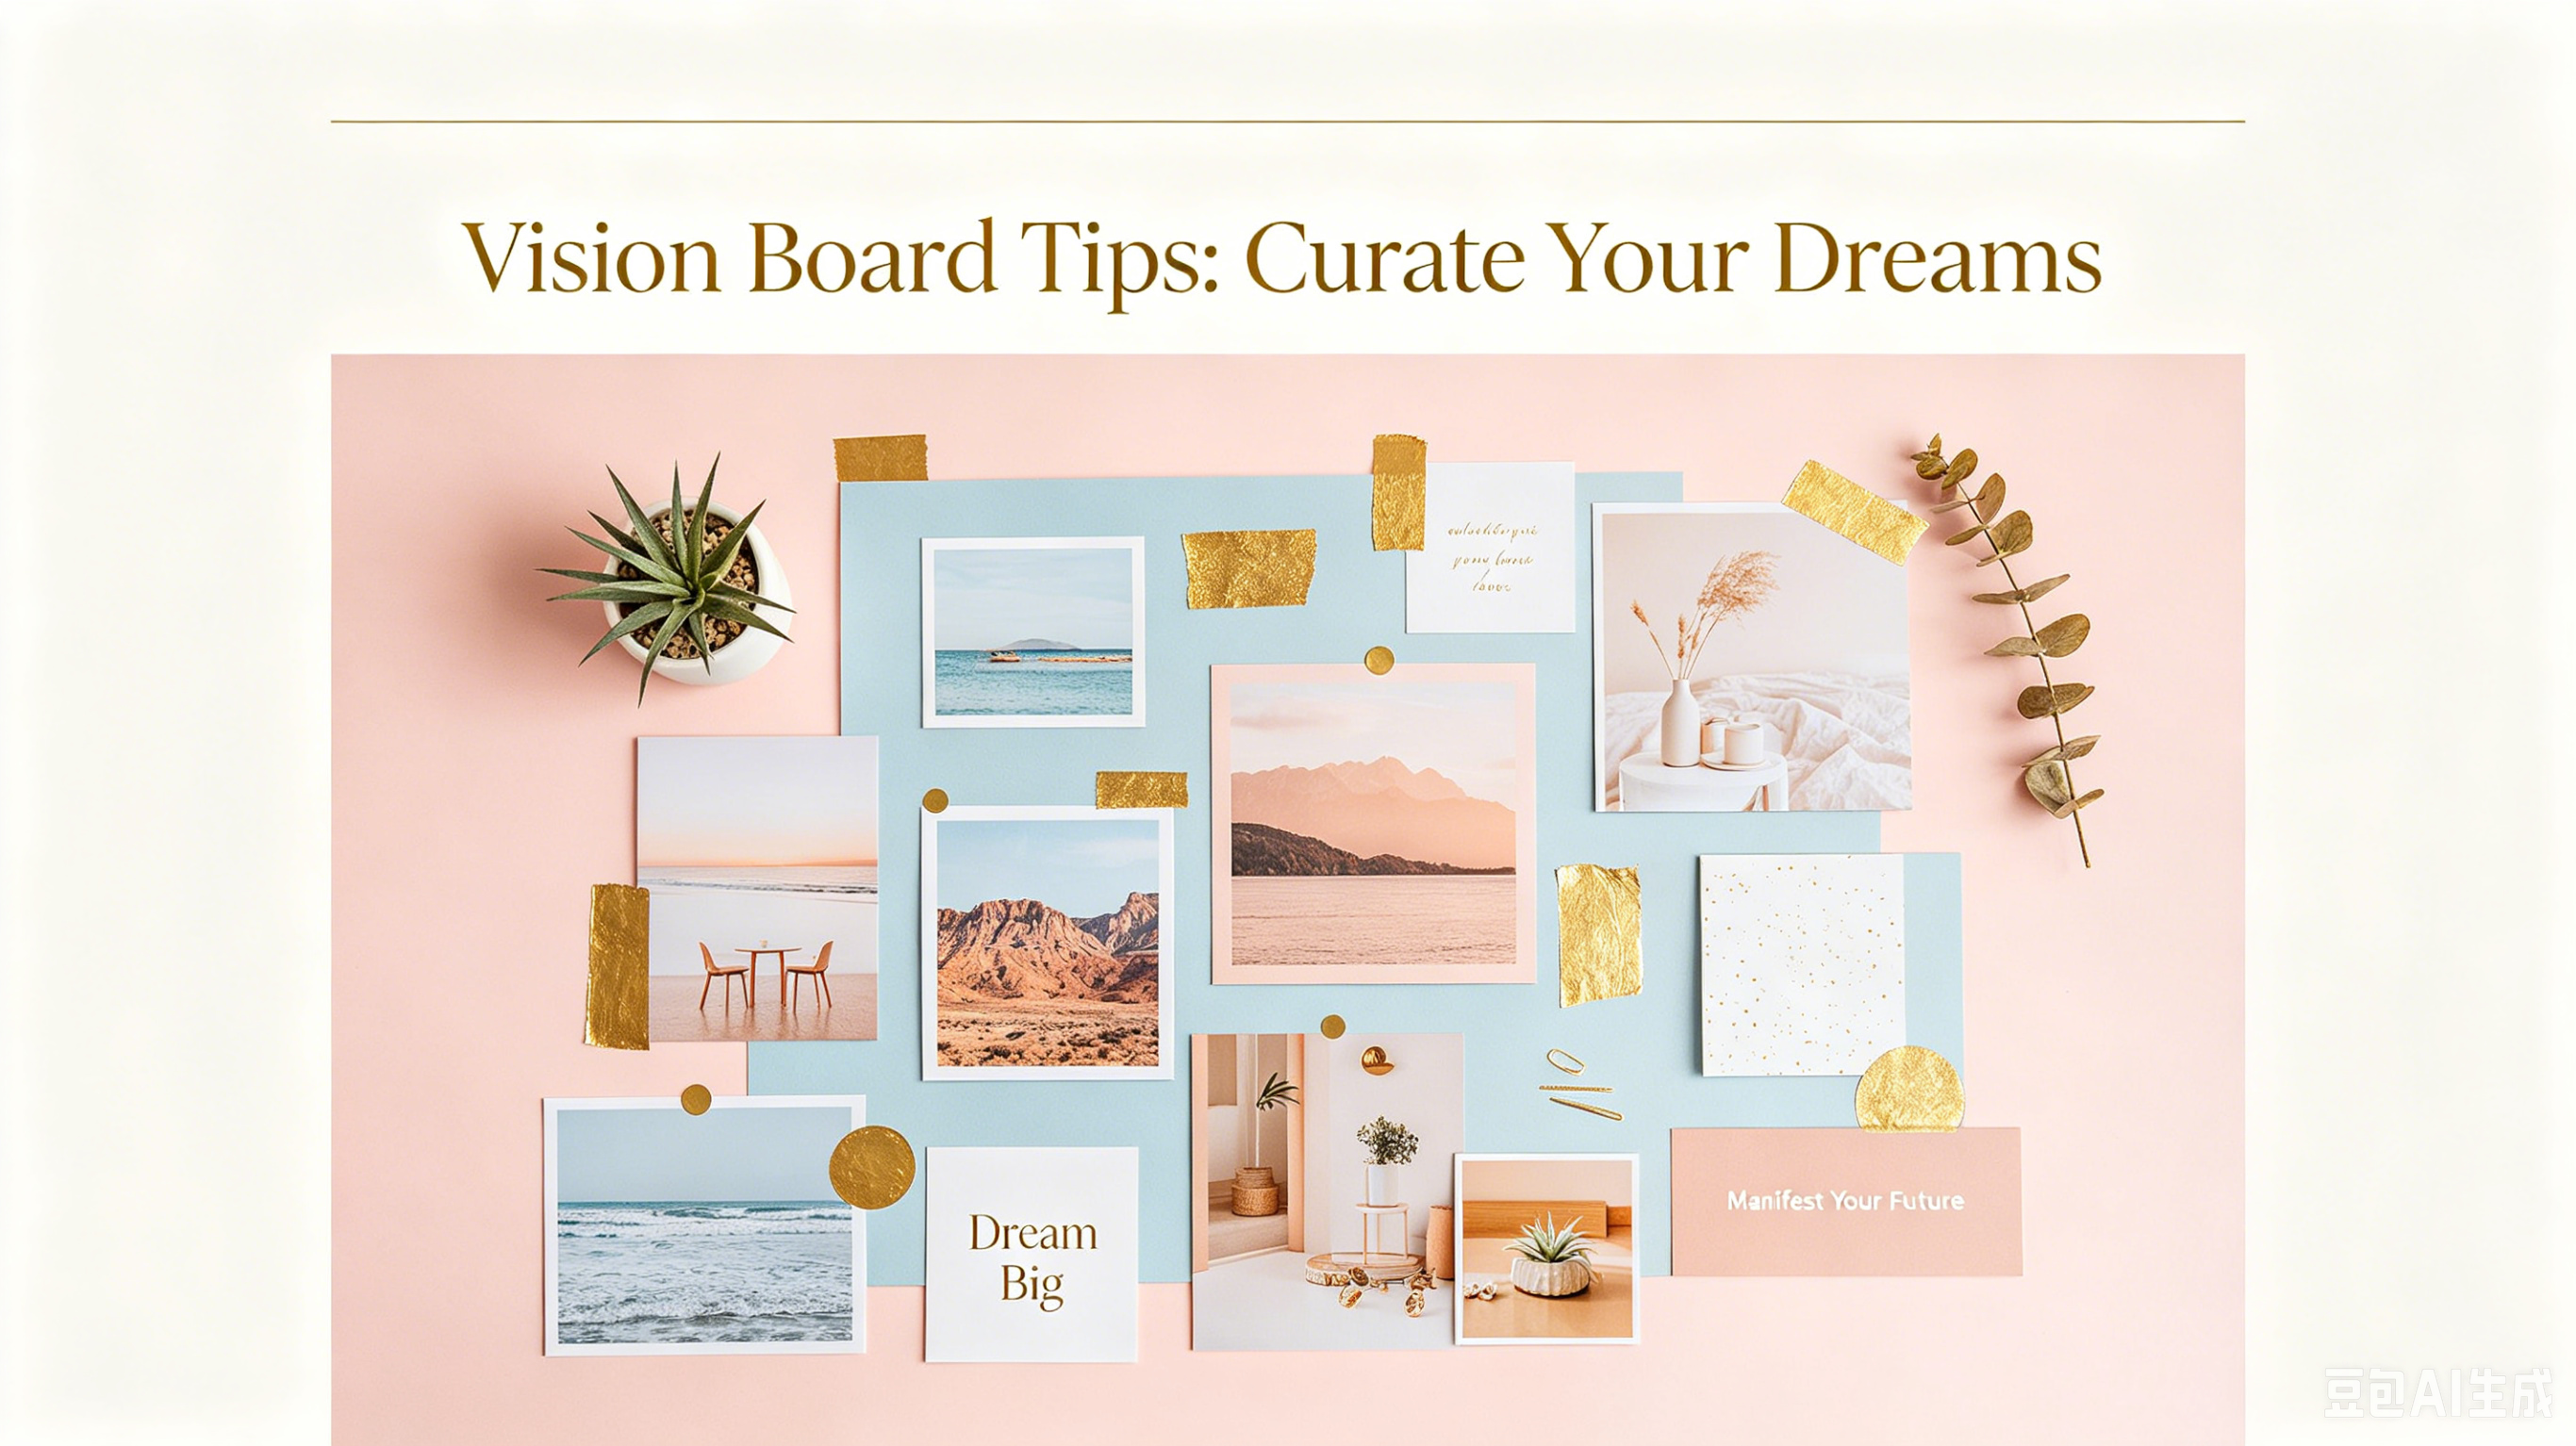
Vision Board Styling vs Arranging: Which Works Better for Busy Family Goals?
Confused about vision board styling vs arranging for your next family vision board? Learn the key differences and what actually works for busy parents.
Table of Contents:
1. What Is Arranging A Vision Board, Anyway? 2. What Is Vision Board Styling? 3. Key Differences: Vision Board Styling vs Arranging 4. Which One Do You Actually Need For A Family Vision Board? 5. My Go-To Step-By-Step Process For Busy Parents 6. Frequently Asked Questions
Vision Board Styling vs Arranging: Which Works Better for Busy Family Goals?
If you’ve ever sat down with a pile of magazine cutouts, glue sticks, and sticky notes to make a vision board with your kids, you know how quickly things can devolve into chaos. I’ve been there: last year my kitchen table was covered in glitter, half-eaten goldfish crackers, and 20 different toy cutouts my 7-year-old insisted on including.
Most new vision board creators mix up vision board styling vs arranging, and it’s easy to see why. Both change how your board looks, but they serve completely different purposes — especially when you’re building a family board that’s actually supposed to help you hit your goals.
What Is Arranging A Vision Board, Anyway?
Arranging is all about organizing your goals in a way that makes sense for you and your family. It’s less about how it looks hanging on the wall, and more about what the board actually does for you.
When my family builds our annual vision board, we always start with arranging. We sort cutouts into three categories: personal goals, family goals, and fun adventures we want to take together.
1. Start by laying every cutout, photo, and note out flat before you glue anything down. This lets you move pieces around without making a mess. 2. Group similar goals together: put all fitness and outdoor activity cutouts on one side, creative goals on the other. That way it’s easy to scan at a glance. 3. Leave space for new goals. We always leave a 4x6 inch blank spot on our board for last-minute additions throughout the year.
What Is Vision Board Styling?
Styling is all about the aesthetic of your finished board. It’s the step that makes your board look nice enough to hang in your living room, rather than just looking like a kid’s art project you stuck in a closet.
I know a lot of busy parents skip this step entirely, and that’s totally fine. But a little styling can help your board feel intentional instead of thrown together, which makes you more likely to actually look at it every day.
- Add a consistent color palette to tie everything together. My kids love picking 2-3 main colors (last year it was blue and green for our hiking theme) and sticking to that.
- Use borders or washi tape to frame the board or separate different goal sections. It’s cheap, quick, and kids love picking out fun patterns.
- Quick note: Add small decorative touches: fake flowers, glitter glue, or sticker accents that match your theme. It takes 10 extra minutes max.
Key Differences: Vision Board Styling vs Arranging
A lot of people use these terms interchangeably, but they’re not the same thing. Arranging is functional, styling is decorative. That’s the core difference.
To make it easy to see what I mean, here’s a side-by-side breakdown:
Category
Arranging
Styling
Primary Purpose
Organize goals for clarity
Improve visual appeal
Priority
Function over form
Form over function
When To Do It
First, before gluing anything
Last, after arranging all goals
Time Required
10-15 minutes
5-10 minutes
Which One Do You Actually Need For A Family Vision Board?
From my 6 years of helping busy parents build family vision boards, you always need to arrange first. You can’t style a board that doesn’t have its core goals sorted out yet.
I built my first family vision board with my 7 and 9 year old in 2022, and we added a “weekly family hike” cutout that we’ve kept up with for 2 years now, even on busy weeks. That goal was front and center because we took the time to arrange it where we’d see it every day.
Styling is optional, especially if you’re short on time. If your board is just going to hang in your family room where you see it every day, a little styling makes it feel more intentional. If it’s just for your family’s private use and you don’t care what it looks like, you can skip it entirely.
My Go-To Step-By-Step Process For Busy Parents
I know you’re busy with bedtime routines and school dropoffs, so this entire process takes 20 minutes max on a Sunday afternoon. No fancy supplies required.
My kids tried to add 10 different toy cutouts to the board at first, so we set a rule that each person gets 3 personal goal cutouts and 2 family goal cutouts. That keeps things from getting cluttered.
1. Set out all your cutouts and have every family member pick their 5 total pieces. Stick to the 3/2 rule to avoid clutter. 2. Arrange all pieces on the board by category: personal, family, adventure. Move things around until everyone is happy with the layout. 3. Glue every piece down once you’re done arranging. Don’t skip this step until everyone agrees on the layout. 4. Add 1-2 quick styling touches if you have time: washi tape borders or matching stickers. You’re done.
Frequently Asked Questions
Can I skip styling entirely?
Absolutely. Arranging is the only non-negotiable step for a goal-focused family vision board.
What if my kids want to style more than arrange?
Let them! It’s their board too. Just sort goals first, then let them go crazy with the decorations.
Do I need fancy supplies to style my board?
Nope. Washi tape and stickers from the dollar store work just as well as expensive craft supplies.
How often should I rearrange my vision board?
Once a year works for most families. You can touch it up quarterly if you want.
Arranging keeps your goals clear and easy to find, while styling just makes your board look nice enough to display. For family vision boards, always prioritize arranging first — you can add styling later if you have extra time.
It doesn’t have to be perfect to work. The point is to get your family talking about goals, not make a Pinterest-worthy craft.
Download my free kid-friendly vision board images from lxnuyyhyi.com, then share your family’s finished board in my private parent community.
Next steps: Choose the strategy from this guide that matches your current skill level and commit to it for 2 weeks before adding anything new.
Ready to Create Your Vision Board?
Browse our curated vision board image packs and start manifesting today.
Shop Vision Board Packs