10 Quick Vision Board Editing Tips for Clutter-Free Digital Boards
Learn quick vision board editing tips for clutter-free digital boards that fit on your phone. These 10-minute edits keep your goals focused without the mess.
In this guide, you'll discover:
🎯 Key: 1. The core principles behind 2. Step-by-step implementation tactics 3. Common mistakes to avoid 4. Proven strategies for better results
Table of Contents:
1. Start with a 5-image maximum rule 2. Use the crop tool to cut out distracting background fluff 3. Batch delete off-topic images in 2 minutes 4. Match color palettes for a cohesive look in one click 5. Use alignment tools to skip manual spacing adjustments 6. Swap text for single-word overlays to cut clutter 7. Frequently Asked Questions
10 Quick Vision Board Editing Tips for Clutter-Free Digital Boards
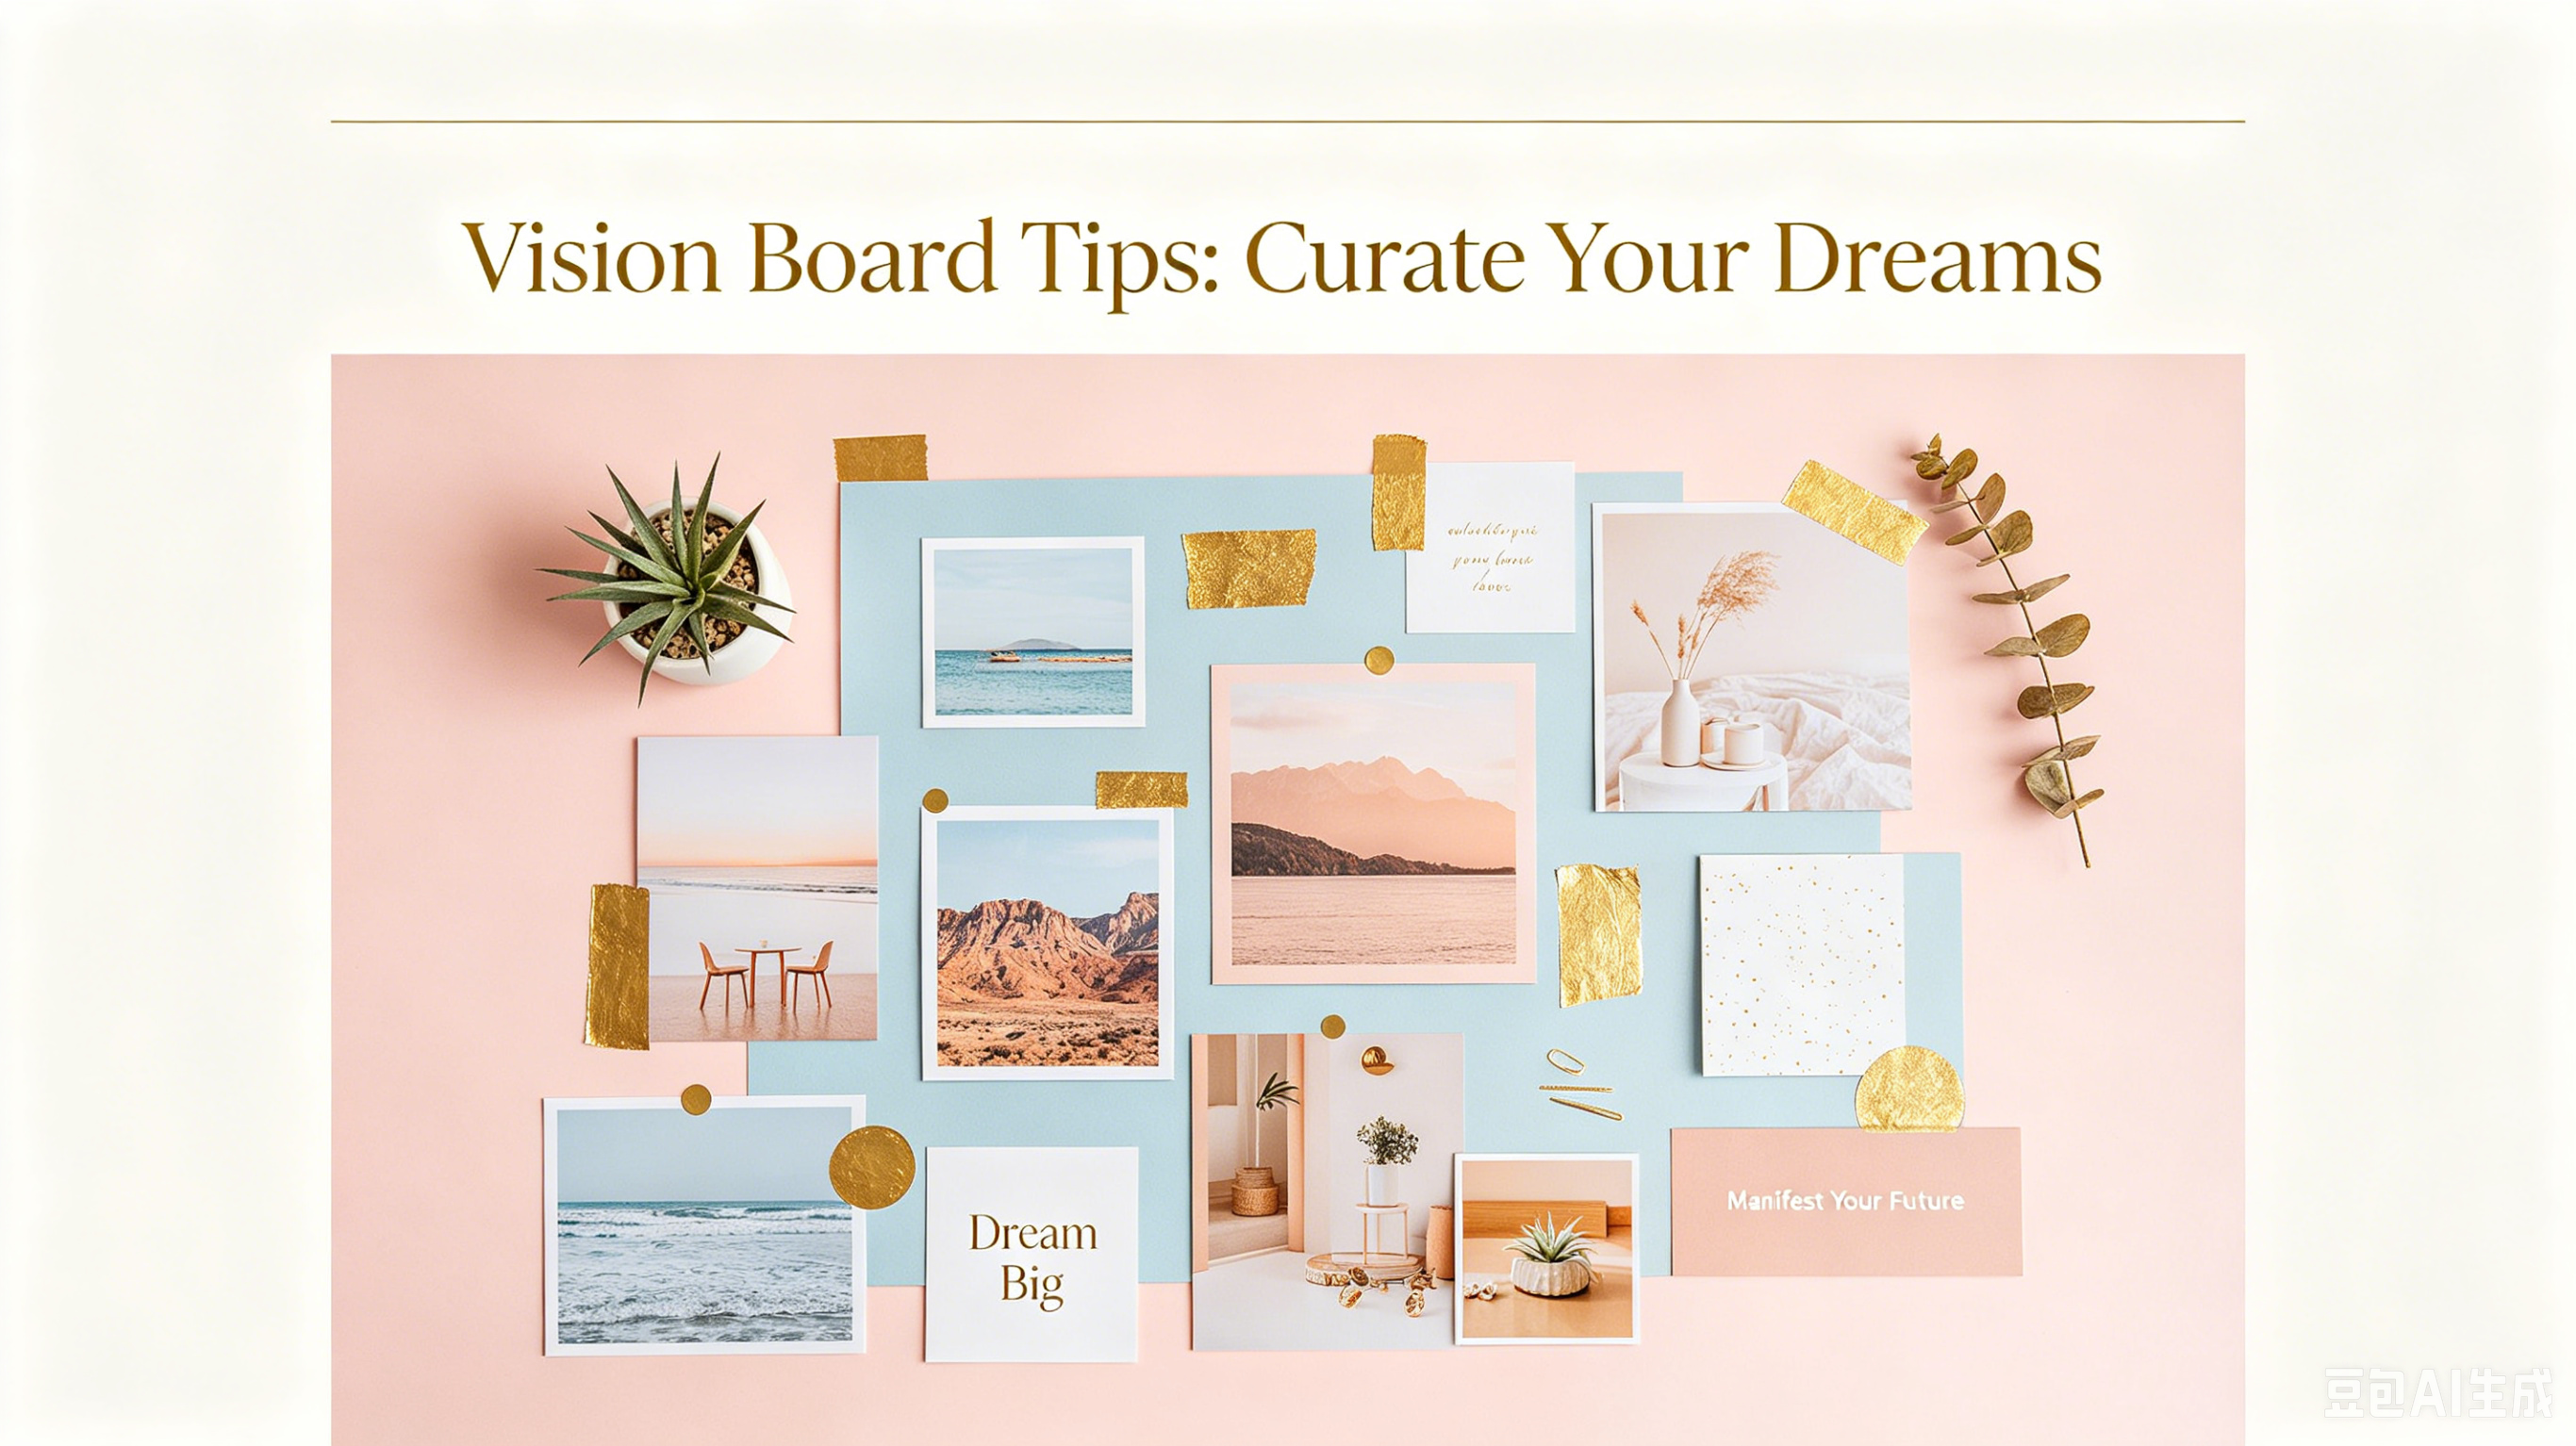
I used to have a giant corkboard vision board that took up half my living room wall, but I switched to an 8x10 digital vision board I keep on my phone lock screen 2 years ago and I hit my goals 2x faster. The biggest game-changer wasn’t the switch to digital — it was learning quick vision board editing tips that cut through the fluff and kept my board focused.
Start with a 5-image maximum rule
I only add 5-7 images to every board to avoid decision fatigue. Any more than that, and your brain can’t focus on the specific goals you’re trying to reinforce.
🎯 Key: This rule makes editing 10x faster because you don’t have to waste time sorting through 50+ pretty stock photos. You pick your top 5 core goals, match each to one image, and you’re done.
Use the crop tool to cut out distracting background fluff
Most of the free images you find online come with extra clutter that doesn’t serve your goal. A beach vacation photo might have a random trash can in the corner or a random person walking in the background.
My go-to quick edit is cropping tight to the part of the image that actually matters. It takes 10 seconds, and it instantly makes your board look clean and intentional, no advanced editing skills required.
Batch delete off-topic images in 2 minutes
Even the most intentional creators end up with extra images that don’t align after their first draft. I do a full sweep of my draft board every time before I call it done.
Here’s my quick batch process:
1. Flip through every image on your board one by one 2. Ask: “Does this spark a specific, tangible action I’m taking this year?” 3. Delete anything that doesn’t get an immediate yes in one tap 4. Stop when you’re back under your 7-image maximum
The whole process takes less time than making a cup of coffee. But it makes your vision board way more effective.
Match color palettes for a cohesive look in one click
Nothing makes a digital vision board look messy faster than clashing bright colors. A saturated neon travel photo next to a muted beige wellness photo can throw off your whole focus.
Most free editing apps like Canva have a one-click filter or color adjust tool that unifies your whole palette. I pick a soft warm filter and turn the intensity down to 30% to keep all my images feeling consistent. It takes 30 seconds, max.
Use alignment tools to skip manual spacing adjustments
I used to spend 10 minutes dragging images around trying to get them spaced evenly. That’s a total waste of time when every decent editing app has built-in alignment tools.
Select all the images on your board, tap “distribute evenly,” and the app does the work for you. No more lopsided spacing or wasted time fiddling with pixels. I do this every time, and it never fails.
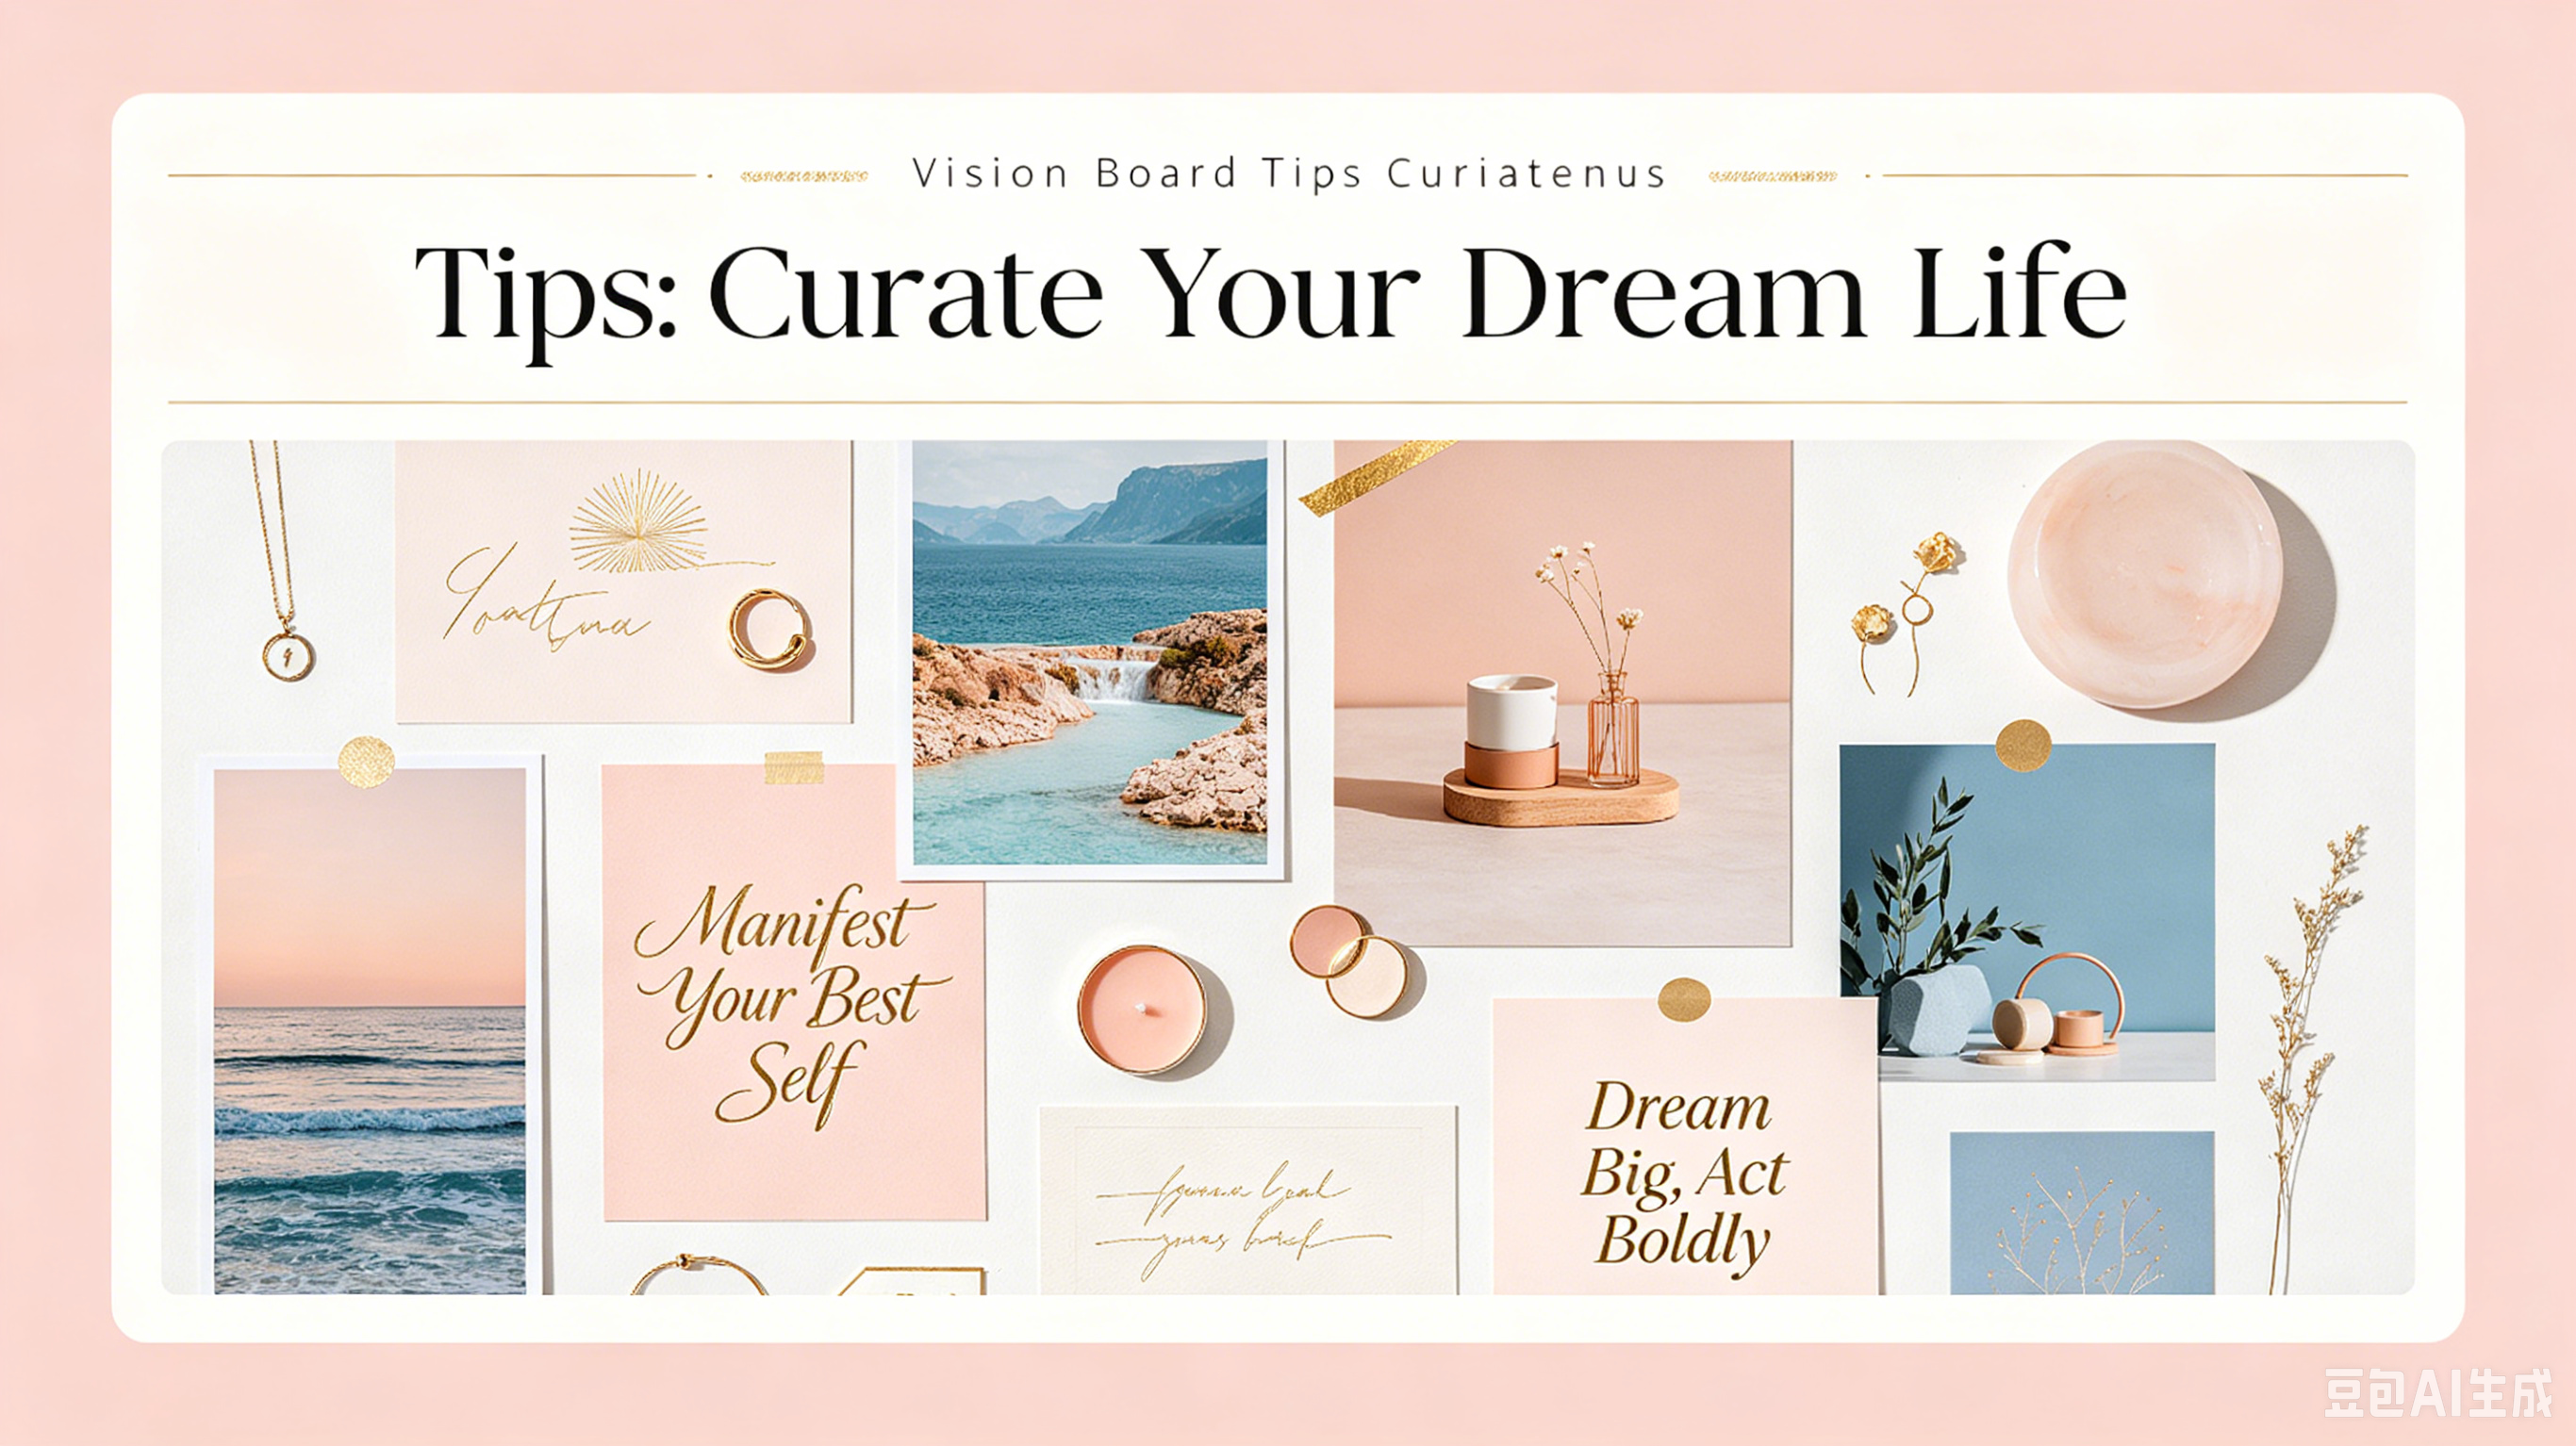
Swap text for single-word overlays to cut clutter
A lot of people load their vision boards up with long quotes and paragraphs of goal statements. That just adds visual clutter that distracts from the actual imagery.
Before Cluttered Edit
After Quick Clean Edit
“I will save $10,000 for a down payment on a new home by the end of the year”
“SAVE”
“I will run a half marathon and get in the best shape of my life”
“RUN”
“I will take a two-week vacation to Italy and eat all the pasta”
“ITALY”
Single words are just as motivating, and they don’t take up extra visual space. Editing your long text down to one word takes 60 seconds, and it makes your whole board feel clean.
Frequently Asked Questions
How long should vision board editing take?
If you follow these quick tips, you can finish a full edit in 10 minutes or less. No full weekends required.
Do I need expensive editing software to do this?
Nope. Free apps like Canva, Google Photos, or even your phone’s default photo editor have all the tools you need for these tips.
How often should I edit my digital vision board?
I edit mine once a quarter to check that my goals still align. It takes 5 minutes, and it keeps my board relevant.
Bottom line: You don’t need fancy craft supplies or hours of free time to make a vision board that actually works. These quick vision board editing tips cut through the clutter and keep you focused on the goals that matter most. If you’re living small like me, they’re the perfect way to get all the benefits of a vision board without sacrificing any wall space.
Download my free curated set of high-resolution minimalist vision board images from lxnuyyhyi.com to build your clutter-free board today.
Implementation is everything. Re-read the section that resonated most, then close this tab and go do that one thing. Seriously — right now.
Ready to Create Your Vision Board?
Browse our curated vision board image packs and start manifesting today.
Shop Vision Board Packs